Peanut Butter Blossom Cookies

Peanut Butter Blossom Cookies turn creamy peanut butter, simple pantry baking staples, and chocolate kisses into soft, chewy cookies with a sweet chocolate center.
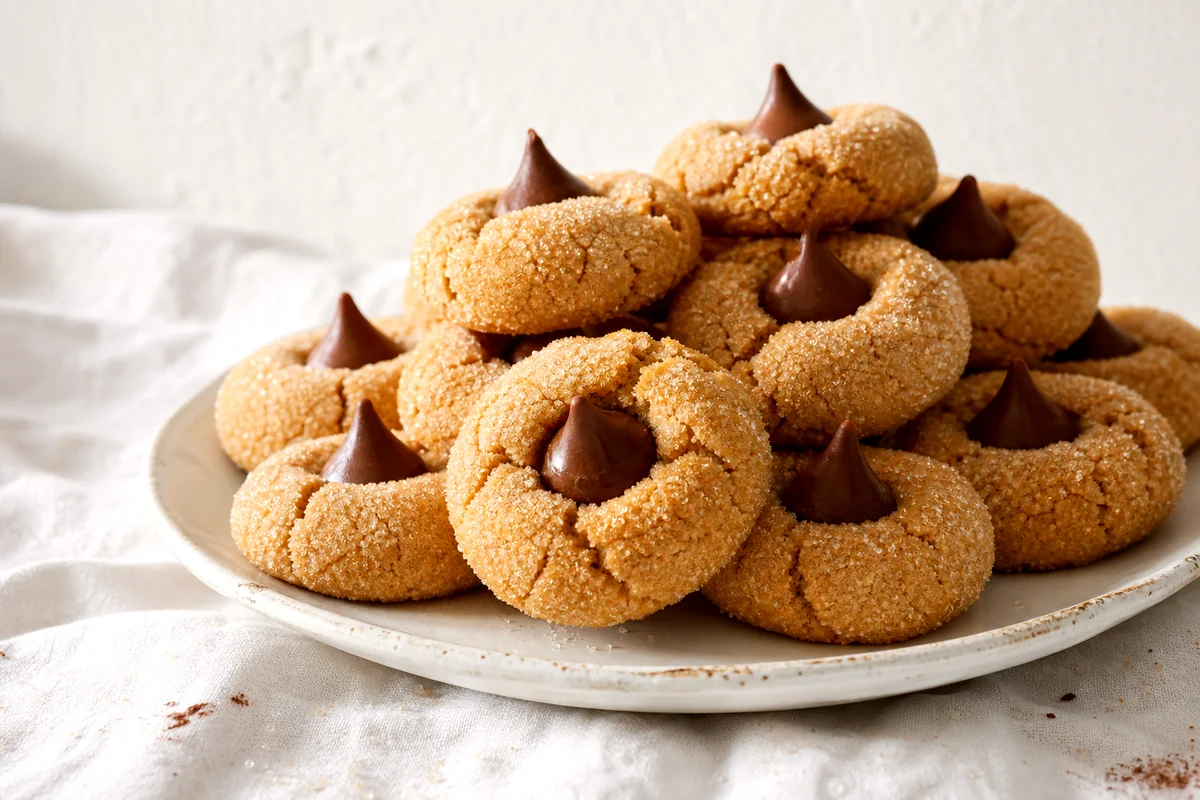
These cookies are a real ingredient treat. They taste like peanut butter shortbread with a tender middle, crisp sugar edges, and a warm chocolate kiss pressed right into the top.
Why You Will Love This Recipe
- Soft and chewy texture: The peanut butter keeps the centers tender while the sugar coating adds a light crunch.
- Classic chocolate center: The chocolate kiss melts slightly into the warm cookie but still holds its shape.
- Pantry friendly: Most ingredients are basic baking staples you may already have.
- Great for sharing: This batch makes about 24 cookies, enough for 4 people with plenty for a cookie plate.
Fabian’s Budget Tip: Buy store brand peanut butter and baking chocolate candies when they go on sale. If chocolate kisses cost too much, press one small square of milk chocolate into each warm cookie instead.
Ingredients (Serves 4)
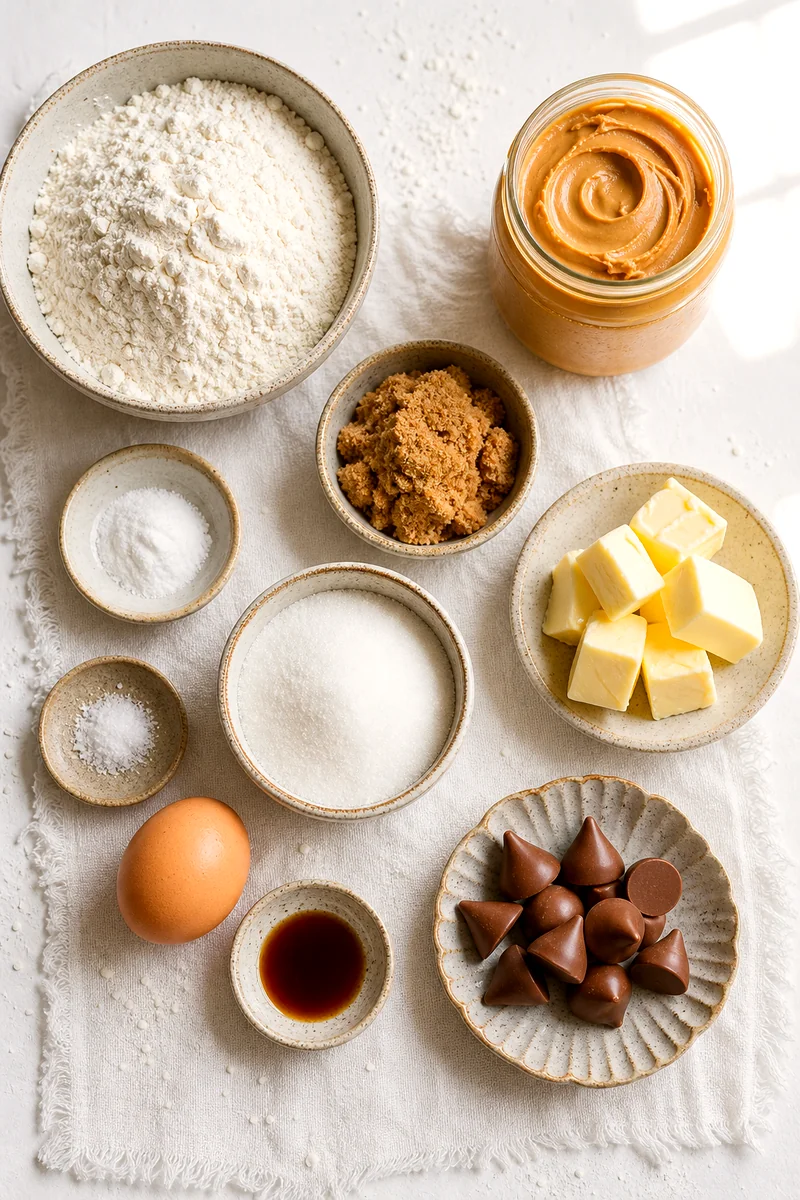
- 1 1/2 cups all purpose flour (188 g)
- 1 teaspoon baking soda (5 g)
- 1/2 teaspoon fine salt (3 g)
- 1/2 cup unsalted butter, softened (113 g)
- 3/4 cup creamy peanut butter (190 g)
- 1/2 cup packed light brown sugar (100 g)
- 1/3 cup granulated sugar for the dough (67 g)
- 1/4 cup granulated sugar for rolling (50 g)
- 1 large egg, room temperature if possible (about 50 g without shell)
- 1 teaspoon vanilla extract (5 ml)
- 24 chocolate kisses, unwrapped (about 120 g)
Step-by-Step Instructions
1. Heat the Oven and Prep the Pan
Heat the oven to 350°F (175°C). Line two baking sheets with parchment paper. Unwrap the chocolate kisses before the cookies bake, because you need to press them in while the cookies are still hot and puffy.
2. Mix the Dry Ingredients
In a medium bowl, whisk the flour, baking soda, and salt until evenly combined. The flour should look light and free of large lumps. Set it aside.
3. Cream the Butter, Peanut Butter, and Sugars
In a large bowl, beat the softened butter, creamy peanut butter, brown sugar, and 1/3 cup granulated sugar for 2 to 3 minutes. Stop when the mixture looks fluffy, lighter in color, and smells nutty and sweet.
4. Add the Egg and Vanilla
Beat in the egg and vanilla until the dough looks smooth and glossy. Scrape the bowl so no streaks of butter or peanut butter hide along the sides.
5. Add the Flour Mixture
Add the dry ingredients to the wet ingredients. Mix on low speed, or stir by hand, just until no dry flour remains. The dough should feel soft but sturdy enough to roll. If it feels sticky, let it rest for 10 minutes at room temperature.
6. Roll and Coat the Cookies
Scoop the dough into 24 balls, about 1 tablespoon each. Roll each ball between your palms until smooth, then roll it in the extra granulated sugar. Place the balls about 2 inches apart on the prepared baking sheets.
7. Bake Until Puffy
Bake for 8 to 10 minutes, until the cookies look puffed and the edges are just set. The tops may look slightly underdone, and that is what keeps the centers soft. Your kitchen should smell warm, buttery, and deeply peanutty.
8. Press in the Chocolate Kisses
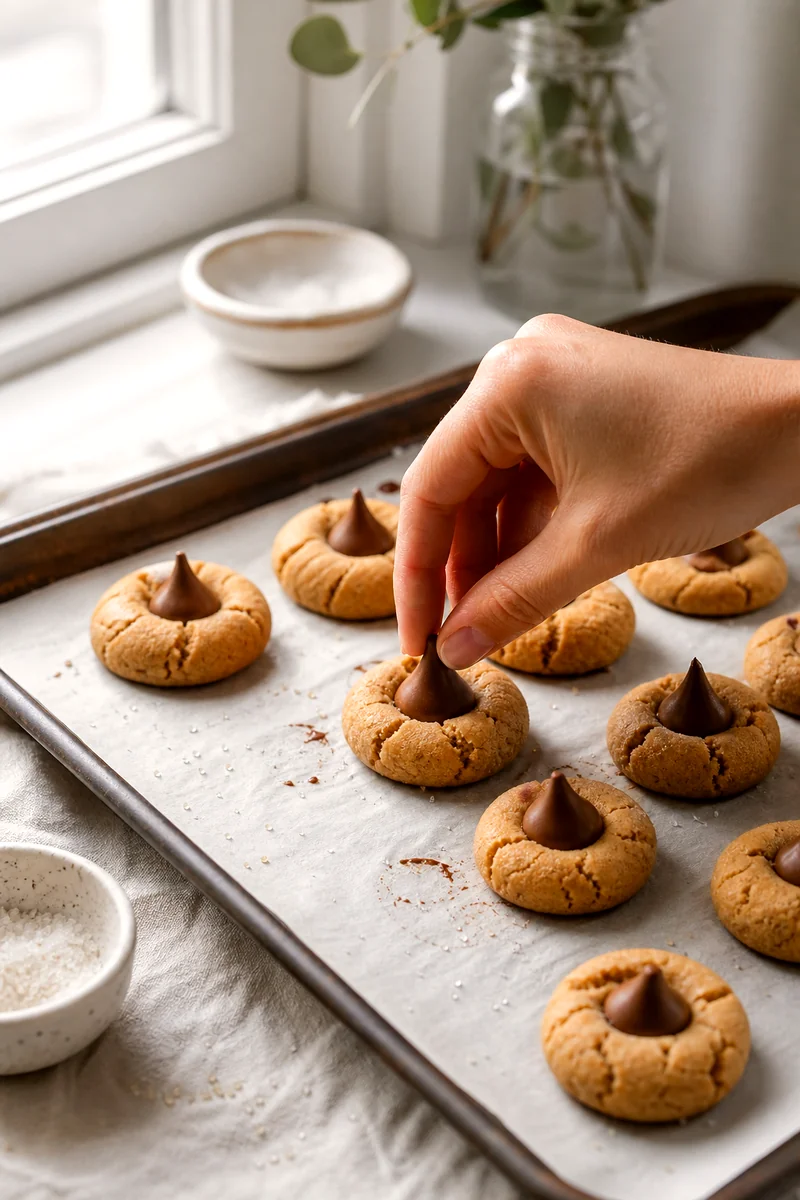
As soon as the cookies come out of the oven, press one chocolate kiss into the center of each cookie. Push gently until the cookie cracks around the chocolate. Let the cookies sit on the baking sheet for 5 minutes, then move them to a cooling rack.

Expert Troubleshooting and FAQs
Why did my cookies spread too much?
The butter may have been too warm, or the dough may have been overmixed after adding the flour. Use softened butter that still feels cool to the touch, and mix only until the flour disappears.
Why are my cookies dry or crumbly?
Too much flour can make peanut butter cookies dry. Spoon the flour into the measuring cup, then level it off. Do not pack it down. Also pull the cookies from the oven while the centers still look soft.
Can I use natural peanut butter?
You can, but the texture may change. Natural peanut butter can make the dough oily or crumbly if it separates. For the most reliable soft cookie, use creamy peanut butter that stays mixed in the jar.
Can I make the dough ahead?
Yes. Cover the dough and chill it for up to 24 hours. Let it sit at room temperature for 15 minutes before rolling so it softens enough to shape without cracking.
How do I store Peanut Butter Blossom Cookies?
Store cooled cookies in an airtight container at room temperature for up to 5 days. Place parchment between layers so the chocolate centers stay neat.
Estimated Nutritional Facts
These values are rough estimates and will vary by ingredient brand and cookie size.
- Serving size: About 2 cookies
- Calories: 340
- Protein: 6 g
- Carbs: 40 g
- Fats: 18 g
Peanut Butter Blossom Cookies
Ingredients
- 1 1/2 cups all purpose flour (188 g)
- 1 teaspoon baking soda (5 g)
- 1/2 teaspoon fine salt (3 g)
- 1/2 cup unsalted butter, softened (113 g)
- 3/4 cup creamy peanut butter (190 g)
- 1/2 cup packed light brown sugar (100 g)
- 1/3 cup granulated sugar for the dough (67 g)
- 1/4 cup granulated sugar for rolling (50 g)
- 1 large egg, room temperature if possible (about 50 g without shell)
- 1 teaspoon vanilla extract (5 ml)
- 24 chocolate kisses, unwrapped (about 120 g)
Instructions
- 1. Heat the Oven and Prep the Pan. Heat the oven to 350°F (175°C). Line two baking sheets with parchment paper. Unwrap the chocolate kisses before the cookies bake, because you need to press them in while the cookies are still hot and puffy.
- 2. Mix the Dry Ingredients. In a medium bowl, whisk the flour, baking soda, and salt until evenly combined. The flour should look light and free of large lumps. Set it aside.
- 3. Cream the Butter, Peanut Butter, and Sugars. In a large bowl, beat the softened butter, creamy peanut butter, brown sugar, and 1/3 cup granulated sugar for 2 to 3 minutes. Stop when the mixture looks fluffy, lighter in color, and smells nutty and sweet.
- 4. Add the Egg and Vanilla. Beat in the egg and vanilla until the dough looks smooth and glossy. Scrape the bowl so no streaks of butter or peanut butter hide along the sides.
- 5. Add the Flour Mixture. Add the dry ingredients to the wet ingredients. Mix on low speed, or stir by hand, just until no dry flour remains. The dough should feel soft but sturdy enough to roll. If it feels sticky, let it rest for 10 minutes at room temperature.
- 6. Roll and Coat the Cookies. Scoop the dough into 24 balls, about 1 tablespoon each. Roll each ball between your palms until smooth, then roll it in the extra granulated sugar. Place the balls about 2 inches apart on the prepared baking sheets.
- 7. Bake Until Puffy. Bake for 8 to 10 minutes, until the cookies look puffed and the edges are just set. The tops may look slightly underdone, and that is what keeps the centers soft. Your kitchen should smell warm, buttery, and deeply peanutty.
- 8. Press in the Chocolate Kisses. As soon as the cookies come out of the oven, press one chocolate kiss into the center of each cookie. Push gently until the cookie cracks around the chocolate. Let the cookies sit on the baking sheet for 5 minutes, then move them to a cooling rack.