Homemade Bounty Bars

Homemade Bounty bars turn coconut, condensed milk, and dark chocolate into a chewy, glossy, no-bake treat that costs less than store-bought candy.
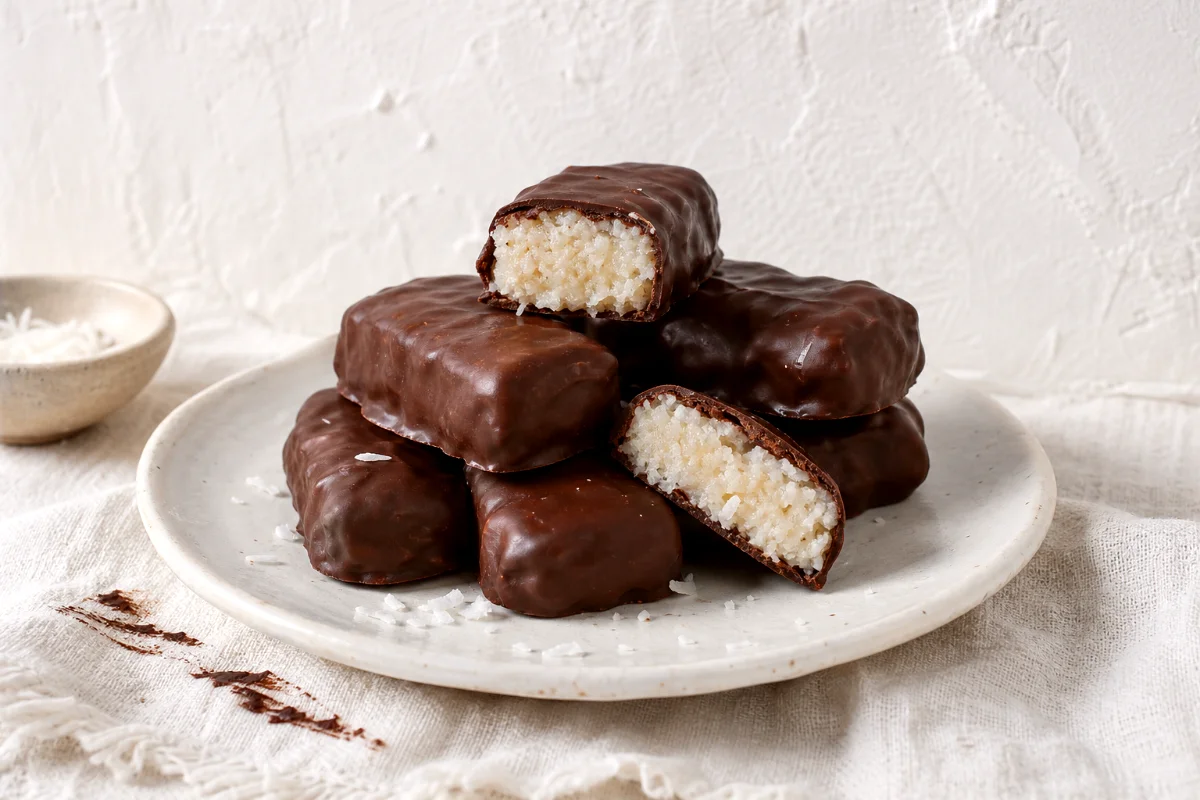
This simple coconut chocolate recipe uses only three ingredients. The center tastes sweet, soft, and rich, while the dark chocolate coating adds a crisp snap and a deep cocoa finish.
Why You Will Love This Recipe
- Only three ingredients: You need coconut, condensed milk, and dark chocolate.
- No oven needed: The fridge does most of the work.
- Better texture: The coconut filling stays moist and chewy, not dry.
- Great for sharing: One batch makes 12 small bars, which serves 4 people nicely.
Fabian’s Budget Tip: Buy desiccated coconut in a larger bag if you bake often. It usually costs less per ounce, keeps well in an airtight jar, and works in cookies, granola, energy bites, and these homemade Bounty bars.
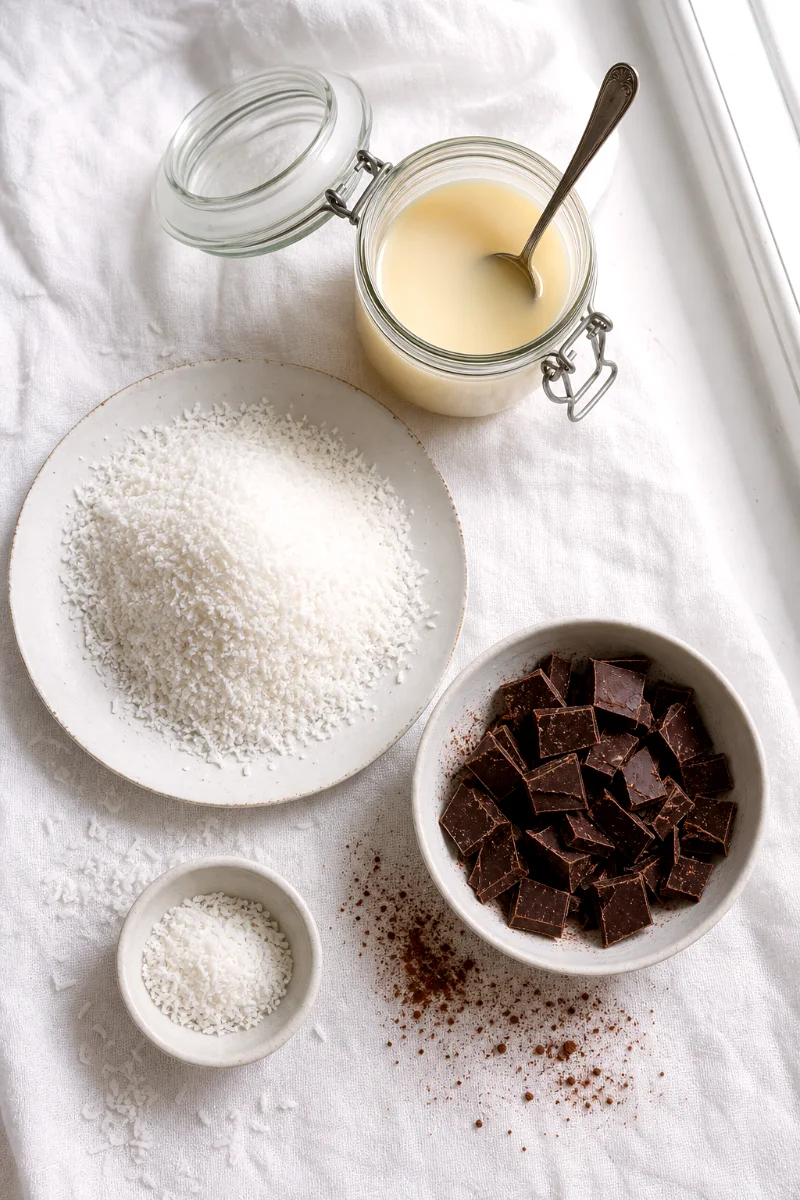
Ingredients (Serves 4)
Makes 12 small bars, about 3 bars per person.
- 2 1/2 cups desiccated coconut (200 g)
- 1 1/4 cups sweetened condensed milk (380 g)
- 7 oz dark chocolate, chopped (200 g)
Step-by-Step Instructions
1. Mix the Coconut Filling
Add the desiccated coconut and sweetened condensed milk to a mixing bowl. Stir with a spoon until every flake of coconut looks glossy and moist. The mixture should feel thick, sticky, and easy to press together.
2. Chill the Mixture
Cover the bowl and chill the coconut mixture for 20 to 30 minutes. This short rest helps the coconut absorb the condensed milk. The filling should feel firmer and less messy when you touch it.
3. Shape the Bars
Divide the mixture into 12 equal portions. Press each portion into a small bar with your hands. Keep the edges slightly rounded, like the classic candy bar shape. If the mixture sticks to your fingers, lightly dampen your hands with water.
4. Chill Before Coating
Place the shaped coconut bars on a plate and chill for another 20 minutes. They should feel firm enough to lift without breaking. This step helps the chocolate coating set faster and smoother.
5. Melt the Dark Chocolate
Place the chopped dark chocolate in a heatproof bowl. Melt it gently over simmering water or in short microwave bursts, stirring often. Stop heating when the chocolate looks smooth, shiny, and fluid.
6. Coat the Coconut Bars
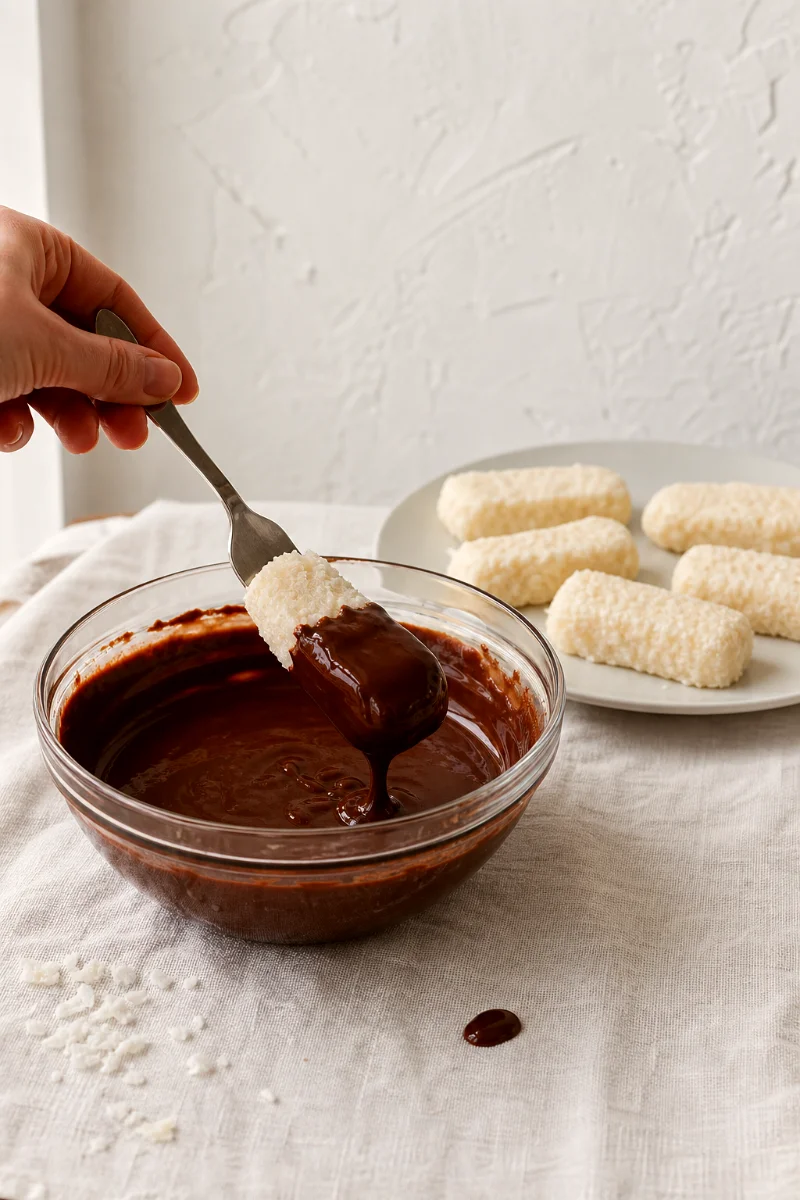
Dip each chilled coconut bar into the melted chocolate. Turn it until the top, sides, and bottom are fully coated. Let the extra chocolate drip back into the bowl, then place the bar on a lined plate. The chocolate should look glossy and even.
7. Set and Serve
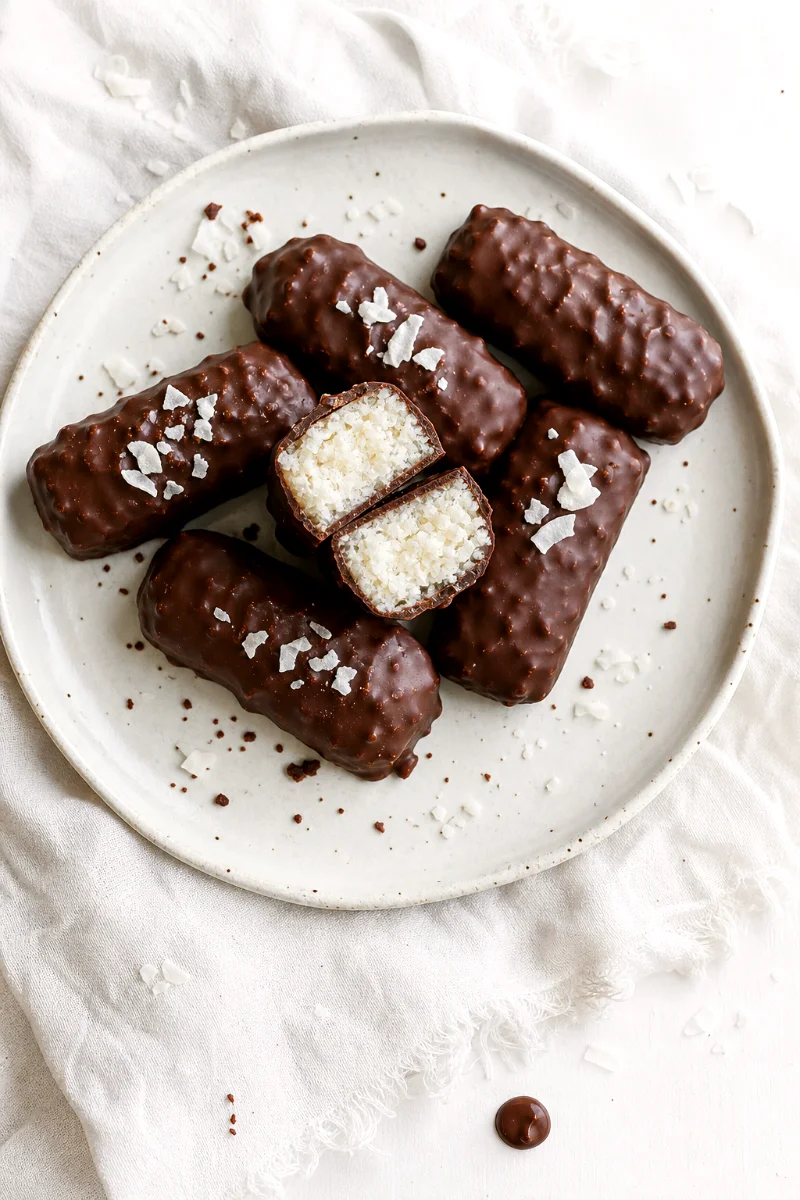
Chill the coated bars for 30 minutes, or until the chocolate shell feels firm to the touch. Bite into one when the coating gives a clean snap and the coconut center tastes soft, sweet, and chewy.
Expert Troubleshooting and FAQs
Why is my coconut mixture too wet?
The mixture may need more time to rest. Chill it for 30 minutes so the coconut can soak up the condensed milk. If it still feels loose, add 1 to 2 tablespoons more desiccated coconut.
Why is my coconut mixture too dry?
Some coconut brands are drier than others. Add 1 tablespoon of condensed milk at a time until the mixture holds together when pressed.
How do I stop the bars from falling apart during dipping?
Make sure the shaped bars are cold and firm before coating. If they soften while you work, place them back in the fridge for 10 minutes.
Can I use milk chocolate instead of dark chocolate?
Yes. Milk chocolate gives a sweeter, creamier taste. Dark chocolate balances the sweet coconut filling better and gives a stronger cocoa flavor.
How should I store homemade Bounty bars?
Keep them in an airtight container in the fridge for up to 1 week. You can also freeze them for up to 2 months. Thaw them in the fridge before serving.
Estimated Nutritional Facts
Per serving, based on 4 servings:
- Calories: about 620
- Protein: about 9 g
- Carbs: about 61 g
- Fats: about 39 g
Homemade Bounty Bars
Ingredients
- 2 1/2 cups desiccated coconut (200 g)
- 1 1/4 cups sweetened condensed milk (380 g)
- 7 oz dark chocolate, chopped (200 g)
Instructions
- 1. Mix the Coconut Filling. Add the desiccated coconut and sweetened condensed milk to a mixing bowl. Stir with a spoon until every flake of coconut looks glossy and moist. The mixture should feel thick, sticky, and easy to press together.
- 2. Chill the Mixture. Cover the bowl and chill the coconut mixture for 20 to 30 minutes. This short rest helps the coconut absorb the condensed milk. The filling should feel firmer and less messy when you touch it.
- 3. Shape the Bars. Divide the mixture into 12 equal portions. Press each portion into a small bar with your hands. Keep the edges slightly rounded, like the classic candy bar shape. If the mixture sticks to your fingers, lightly dampen your hands with water.
- 4. Chill Before Coating. Place the shaped coconut bars on a plate and chill for another 20 minutes. They should feel firm enough to lift without breaking. This step helps the chocolate coating set faster and smoother.
- 5. Melt the Dark Chocolate. Place the chopped dark chocolate in a heatproof bowl. Melt it gently over simmering water or in short microwave bursts, stirring often. Stop heating when the chocolate looks smooth, shiny, and fluid.
- 6. Coat the Coconut Bars. Dip each chilled coconut bar into the melted chocolate. Turn it until the top, sides, and bottom are fully coated. Let the extra chocolate drip back into the bowl, then place the bar on a lined plate. The chocolate should look glossy and even.
- 7. Set and Serve. Chill the coated bars for 30 minutes, or until the chocolate shell feels firm to the touch. Bite into one when the coating gives a clean snap and the coconut center tastes soft, sweet, and chewy.