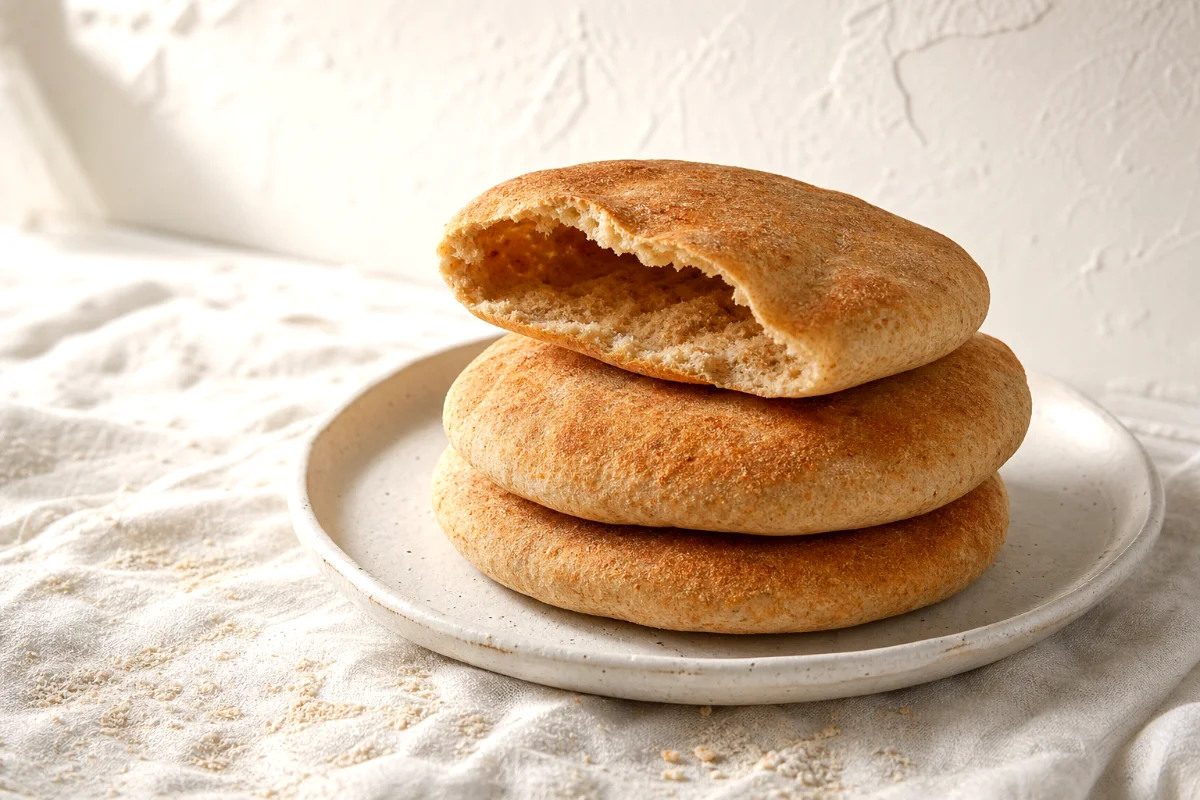
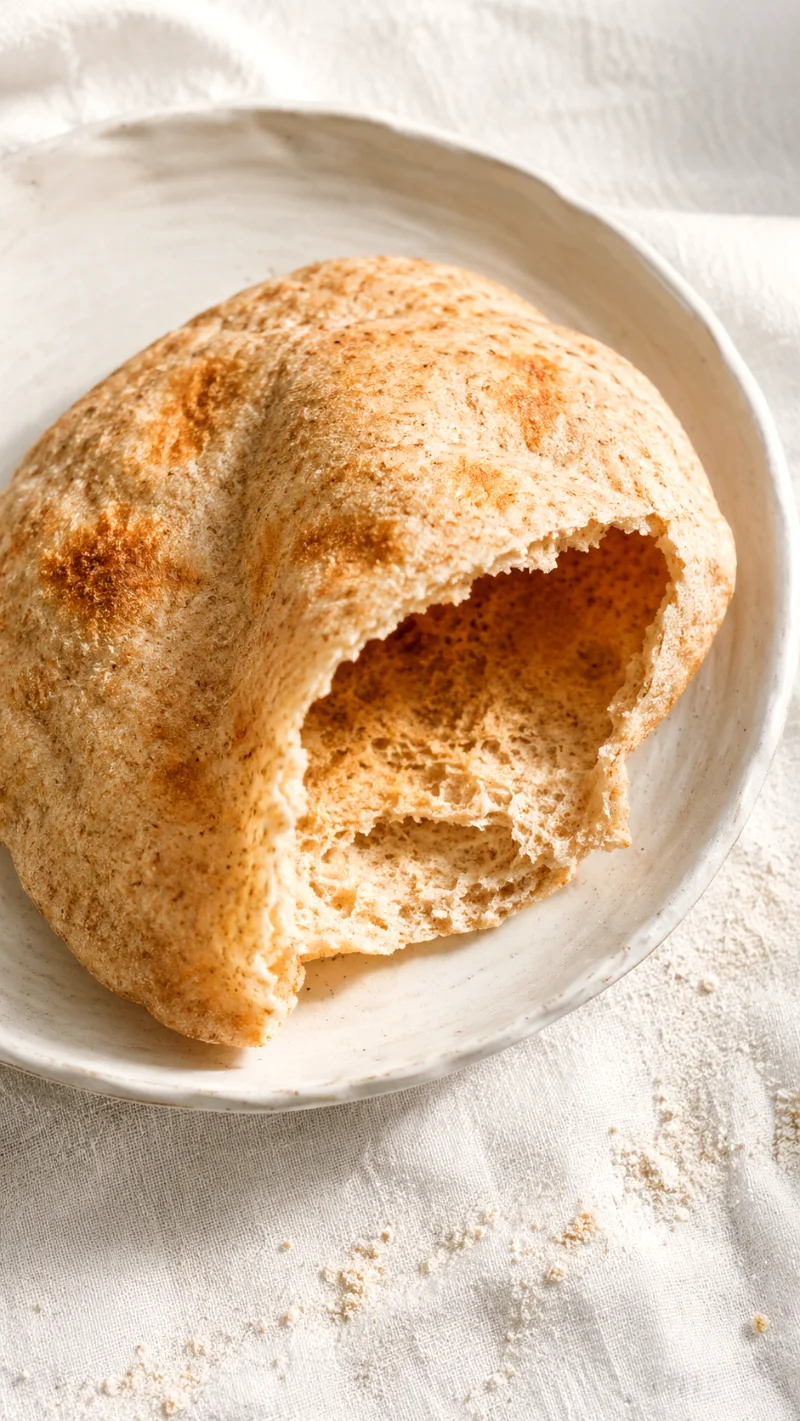
Soft Whole Wheat Pita Bread (Puffs Every Time)
Store-bought pita goes stale fast and costs way more than it should. This soft whole wheat pita bread bakes up warm, fluffy, and pocket-perfect for pennies a piece. You only need a handful of pantry staples you almost certainly have right now: flour, water, yeast, and a splash of olive oil. That is the whole magic.
Whole wheat flour is one of the cheapest bags on the shelf, and it does double duty here. It brings a nutty, hearty flavor while loading every round with fiber, B vitamins, and slow-burning energy that keeps you full longer than the pale white stuff.
A touch of white flour keeps the texture light and helps each pita balloon into that signature pocket. Affordable, wholesome, and genuinely fun to make. This is everyday Mediterranean baking at its best.
Why You’ll Love This Recipe
- Cheaper than the store. A full batch costs less than a single packet of bakery pita.
- Higher in fiber and protein. Whole wheat flour does the heavy lifting for your gut and your energy.
- No special equipment needed. A bowl, your hands, and a hot oven are all it takes.
- That satisfying puff. Watching each round inflate in the oven never gets old.
Fabian’s Budget & Health Tip: No baking stone? Flip a sheet pan upside down and preheat it for 20 full minutes. That blast of stored heat is what shocks the dough and forces the steam pocket open, giving you bakery-level puff for zero extra cost. For an even bigger fiber boost, swap the white flour for white whole wheat flour. It keeps things soft while pushing the whole-grain count higher.
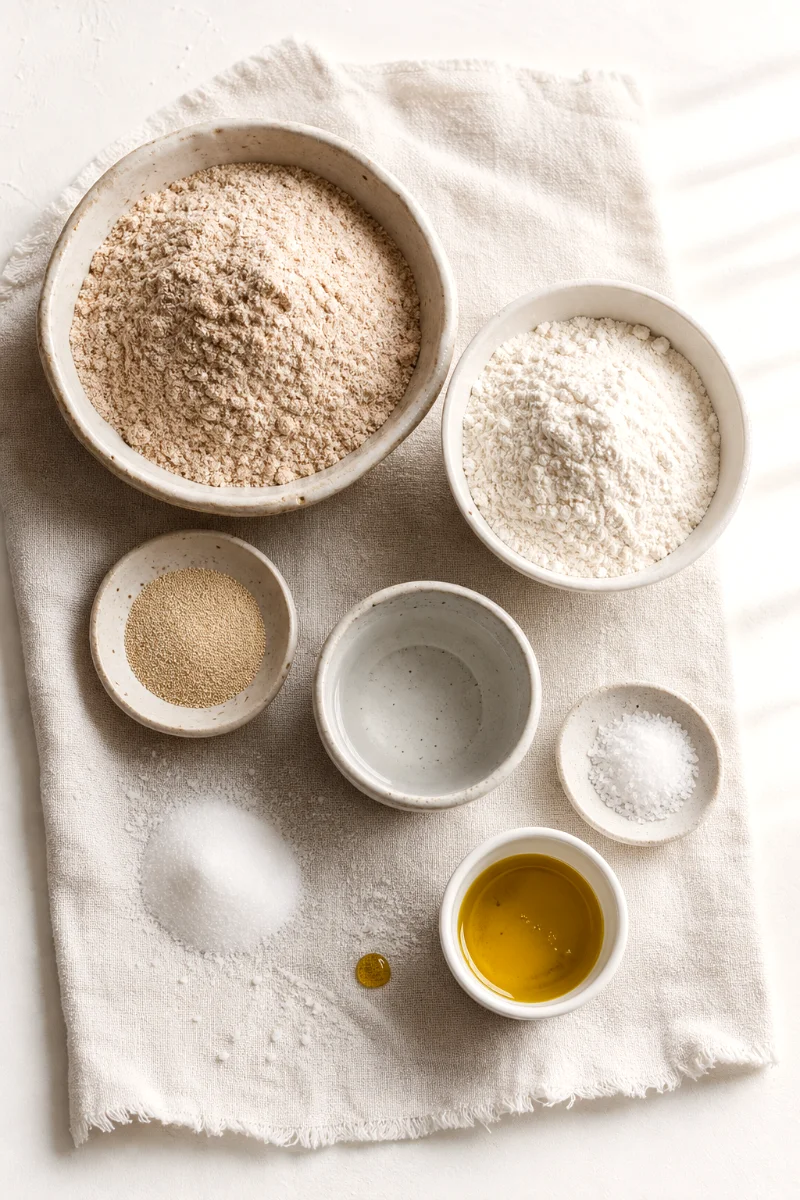
Ingredients (Serves 2)
Makes 3 pita breads
- 1 cup whole wheat flour (120g)
- 1/2 cup white all-purpose flour (60g)
- 1/2 cup warm water (120ml)
- 1/2 tsp active dry yeast
- 1/2 tsp sugar
- 1/2 tsp salt
- 1 tbsp olive oil (15ml)
Step-by-Step Instructions
🌡️ Step 1: Wake Up the Yeast
Stir the yeast and sugar into the warm water. The water should feel like a cozy bath, never hot. Let it sit for 10 minutes. You are waiting for a soft foam to bloom across the top and a faint, fresh-bread smell to rise from the bowl. That foam is your proof the yeast is alive and hungry.
🥣 Step 2: Build the Dough
Add the whole wheat flour, white flour, salt, and olive oil straight into the foamy water. Stir with a spoon until the flour disappears and a shaggy, slightly sticky ball pulls together. It will look rough and messy right now. That is exactly what you want.
💪 Step 3: Knead Until Smooth
Tip the dough onto a lightly floured counter and knead for 8 minutes. Push it away with the heel of your hand, fold it back, turn, and repeat. Watch it transform from craggy and tacky into smooth, soft, and springy. When you press a finger in and the dough bounces back slowly, you are done.
⏳ Step 4: Let It Rise
Drop the dough into a lightly oiled bowl and cover it with a damp towel. Let it rise somewhere warm for 1 hour. Peek in when the timer rings. You are looking for a puffed, doubled dome that wobbles like a pillow when you nudge the bowl.
🔵 Step 5: Divide and Roll
Punch the dough down with one gentle press and listen for that soft sigh of escaping air. Divide it into 3 equal pieces. Roll each one into a round about 1/4 inch thick. Keep them even, because thin spots can stop a pita from puffing properly.
😴 Step 6: Rest the Rounds
Lay the rounds on a floured surface and cover them again. Rest for 15 minutes. The dough relaxes here, and a relaxed dough puffs better. Meanwhile, preheat your oven to 475°F (245°C) with the baking stone inside.
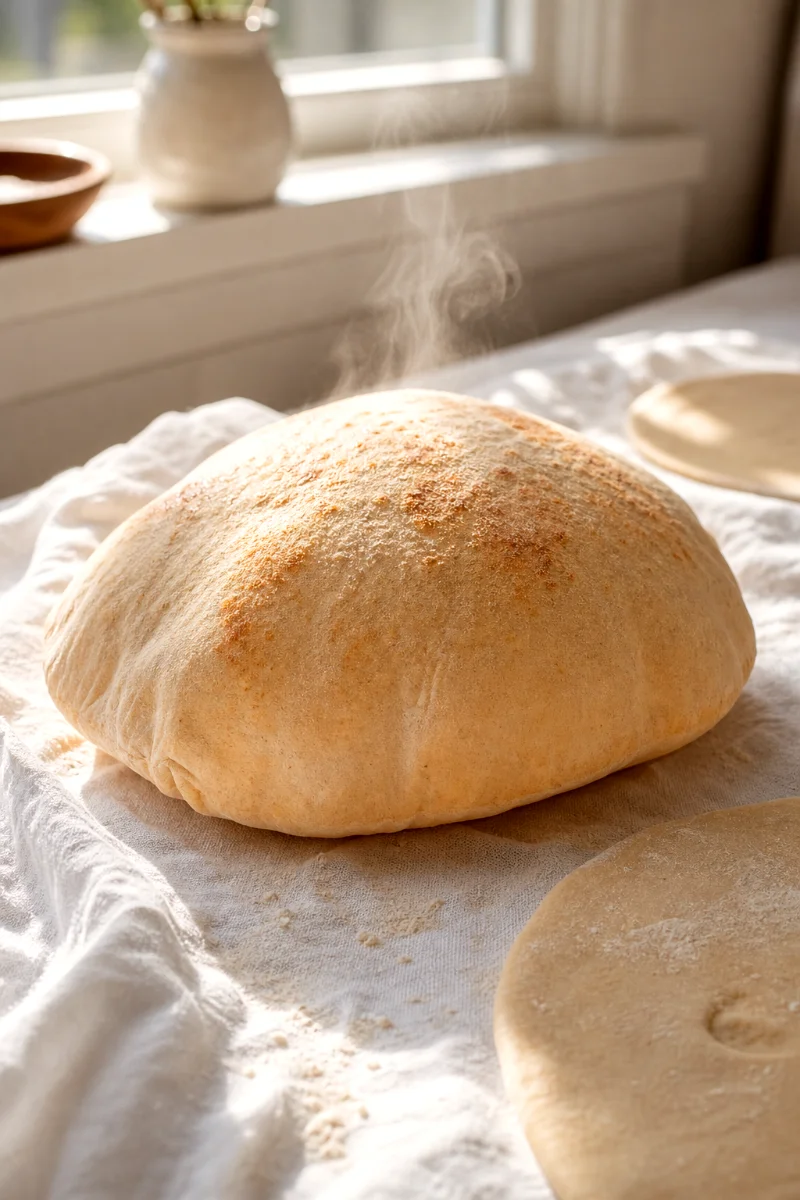
🔥 Step 7: Bake and Watch the Magic
Slide a pita onto the screaming-hot stone. Now watch closely. Within 3 to 4 minutes, the round will balloon up into a dramatic dome as steam blasts the center open. Pull it out the moment it puffs and the surface turns dry and pale-gold. Wrap the finished pitas in a clean towel right away to keep them soft and pillowy.
Expert Troubleshooting & FAQs
Why didn’t my pita puff up?
The number one culprit is heat. If your stone or pan is not blazing hot, the dough cannot create steam fast enough to balloon. Preheat for a full 20 minutes. Rolling the rounds too thin or too unevenly can also seal the pocket shut, so aim for a steady 1/4 inch.
My dough feels too sticky. What do I do?
Whole wheat flour drinks more water than white flour, so a slightly tacky dough is normal. Add flour one tablespoon at a time while kneading until it stops gluing to your hands. Resist dumping in lots at once, since dry dough bakes up tough.
Can I make these ahead?
Absolutely. Store cooled pitas in an airtight bag for up to 3 days, or freeze them flat for up to 2 months. Warm them in a dry pan or a hot oven for a minute to bring back that just-baked softness.
Estimated Nutritional Facts
Per serving (based on 2 servings):
- Calories: 375
- Protein: 11g
- Carbs: 66g
- Fats: 9g
Values are rough estimates and will vary with your exact ingredients and portion sizes.
Soft Whole Wheat Pita Bread (Puffs Every Time)

Ingredients
- 1 cup whole wheat flour (120g)
- 1/2 cup white all-purpose flour (60g)
- 1/2 cup warm water (120ml)
- 1/2 tsp active dry yeast
- 1/2 tsp sugar
- 1/2 tsp salt
- 1 tbsp olive oil (15ml)
Instructions
- Step 1: Wake Up the Yeast. Stir the yeast and sugar into the warm water. The water should feel like a cozy bath, never hot. Let it sit for 10 minutes. You are waiting for a soft foam to bloom across the top and a faint, fresh-bread smell to rise from the bowl. That foam is your proof the yeast is alive and hungry.
- Step 2: Build the Dough. Add the whole wheat flour, white flour, salt, and olive oil straight into the foamy water. Stir with a spoon until the flour disappears and a shaggy, slightly sticky ball pulls together. It will look rough and messy right now. That is exactly what you want.
- Step 3: Knead Until Smooth. Tip the dough onto a lightly floured counter and knead for 8 minutes. Push it away with the heel of your hand, fold it back, turn, and repeat. Watch it transform from craggy and tacky into smooth, soft, and springy. When you press a finger in and the dough bounces back slowly, you are done.
- Step 4: Let It Rise. Drop the dough into a lightly oiled bowl and cover it with a damp towel. Let it rise somewhere warm for 1 hour. Peek in when the timer rings. You are looking for a puffed, doubled dome that wobbles like a pillow when you nudge the bowl.
- Step 5: Divide and Roll. Punch the dough down with one gentle press and listen for that soft sigh of escaping air. Divide it into 3 equal pieces. Roll each one into a round about 1/4 inch thick. Keep them even, because thin spots can stop a pita from puffing properly.
- Step 6: Rest the Rounds. Lay the rounds on a floured surface and cover them again. Rest for 15 minutes. The dough relaxes here, and a relaxed dough puffs better. Meanwhile, preheat your oven to 475°F (245°C) with the baking stone inside.
- Step 7: Bake and Watch the Magic. Slide a pita onto the screaming-hot stone. Now watch closely. Within 3 to 4 minutes, the round will balloon up into a dramatic dome as steam blasts the center open. Pull it out the moment it puffs and the surface turns dry and pale-gold. Wrap the finished pitas in a clean towel right away to keep them soft and pillowy.


